Wow, I have missed posting here - missed all my blog friends and visitors. Life has been super-hectic(frantic/jumbled etc?) haha, but its all good! Here is one of the things that I invested my time in recently.
I was given an invitation to decorate the tables for the 29th annual Boundary Women’s Christmas Celebration. It took place at Rock Creek BC this year. Rock Creek is is rural… very very rural, but located sort of central to the entire area from which women from all over come to celebrate the beginning of the Christmas Season. To give you a little flavour of this event I will tell you that it began all those years ago with a few women from the farms and valleys desiring to just “get together” a few weeks before the holidays to encourage and inspire each other. I believe the first celebrations were just hosted in their homes, but as the years passed and they opened this up to other women (via word of mouth) they had to move this venue to larger buildings. And now, its grown to a just under 200 people event.
I have enjoyed attending the past 4 years and it’s the perfect way for me to join with a diverse group of ladies, from all walks of life to bask in their skits, songs, scripture, crafts demos etc. I was moved to offer my hand at decorating this year - using some of my crafts on the tables. My Sister in Law Judy came over to help me too, so we had a nice visit and got to share this experience.
Here are some pictures from this year’s event:
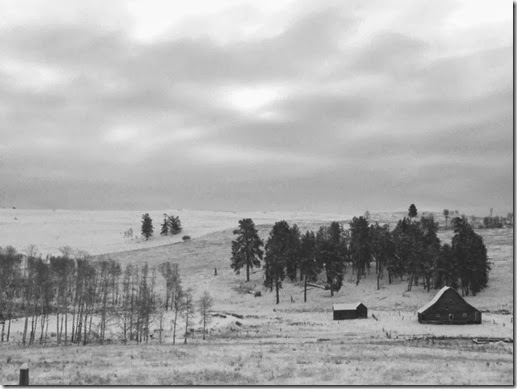
Beautiful Scene on the drive over to Rock Creek, early morning
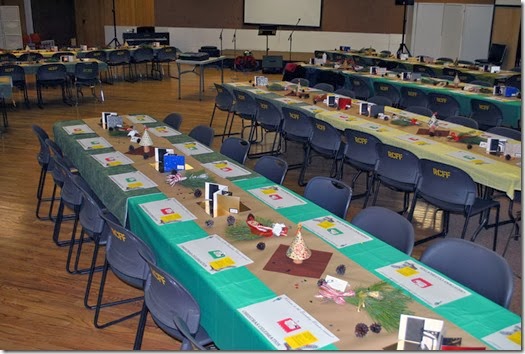
BEFORE - ah, all the tables set and ready for the event.
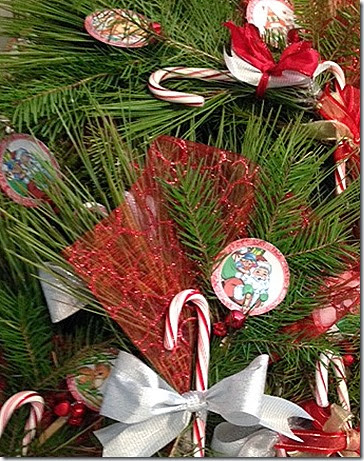
Judy and I made up these pretty greens the night before -
using free printable graphics from Graphics Fairy!
These printables were meant to be toppers for candy jars but I used them
for these.
I’m entering this project into Brag MondayBrag Monday at Graphics Fairy!
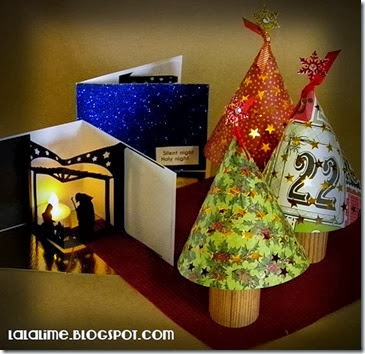
And included Nativity Cards (Doodling Debbie design)
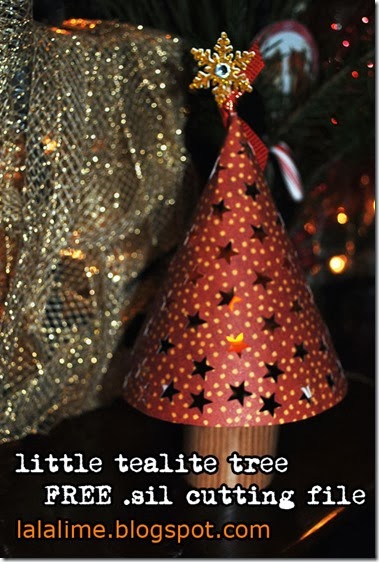
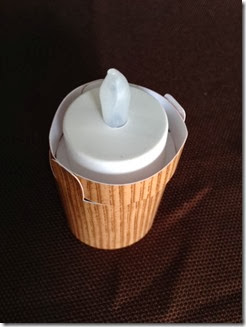
and my very own Christmas Tree tealights!
I want to mention here that I ♥ Debbie’s Nativity card cut… she designed this last year and I think they are a classic. I’d highly encourage you to pop over to Debbie’s Paper Pulse blog and download this incredible file. Now, I also would like to you encourage you to dig into your pockets and donate a $ or two (give up your latte for a day?) and donate, for you will want to use this file over and over. Debbie “tip” - its a huge encouragement!
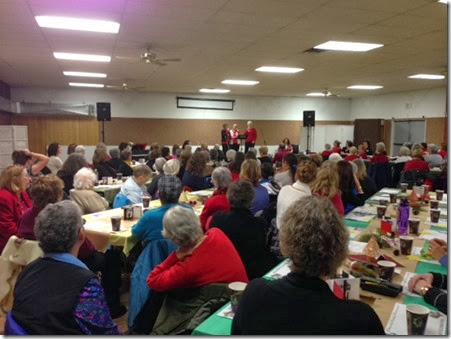
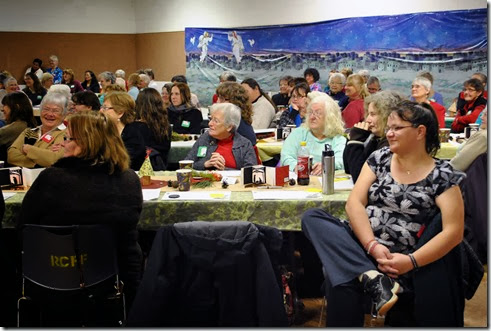
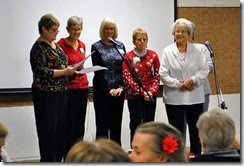
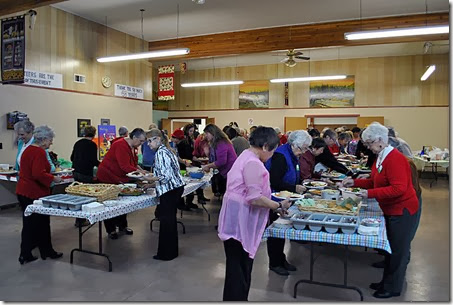
It was a full house - over 175 women!
So nice to have my church family and real family take part!
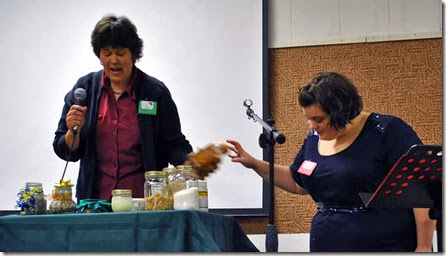
enjoy craft demo’s
skits
singin’
great country cookin’
going for a good cause (food bank)
It all just really kicked off the season for me - and in the spirit of GIVING, I’m going to give YOU this pretty 3D tealight I designed for your Silhouette cutting machine (SD, portrait, Cameo) I had a lot of fun making this one. I have made the trunk either plain for you, or printed in a wood pattern already. For myself, I did something novel. I bought Contact paper with a woodgrain pattern on it, then I stuck the vinyl to letter sized paper, then I cut it on my Cameo as if it were regular cardstock. This worked wonderfully! Either way is great, though I think your project might have better “stick together” if you use the print and cut I’ve provided. The vinyl could pull away from the paper a bit depending on what glue you use.
When assembled, the “trunk” holds a tray which can hold a standard sized LED tealight. I bought quality tealights from my local Home Hardware because they can light for 100 hours and last longer than cheaper dollar store ones.
You are welcome to use this cutting file for your personal use projects.
Please credit my blog when posting your project
and PINterest me, twitter me or facebook me if you can?
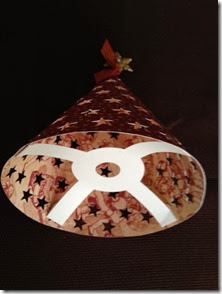
note about this file: the four little squares in this file are for where the tealight support inside (looks like an x with a circle and hole in the middle) meets the inside edge of the cone - so you can cut these with the same pattern paper you use so when you glue them inside (they go UP inside) they show through any “stars” as the same pattern and not a glaring white. Here are pics of the inside of the tree so you can get what I mean (I hope)
This is the X… the framework that sits on the tealight
and supports the tree.
This tree “trunk” and the tealight holder are two pieces.
I topped my tree off with a snowflake decoration I created. When you put the cone part of your tree together, you might push a glue dot up into the top of the tree - to anchor the topper. I used a Martha Stewart punch to make two snowflake shapes from glitter cardstock. I pushed a glue dot up into the top point inside the cone (I used a long wooden skewer to do that, but a knitting needle would do nicely) I glued the snowflakes back to back with the toothpick in beween, using Alene’s Tacky Glue. Once dry, I added a gem in the middle of both sides, popped the toothpick down into the tree and dressed the exposed part of the toothpick with a knotted bit of ribbon.
I hope you enjoy!




Barb thank you for the great time and the privilege of going to the ladies meet ...it was awesome. Love our time creating the greens ...and our Mexican lunch ..and shopping time. Only thing I would changed was having more time with you ...thank you for sharing the little tree file ..along with the awesome cards you made to go along with the little tree the tables were beautiful and I know they touched and were loved by all...
ReplyDeletehugs and lots of love
Barbara L loved your post today,just wish I lived closer so I would have been able to go share some time together.I love the cut file you shared today.I will make these for Christmas for the ladies that I visit teach in the church.
ReplyDeleteBlessings Jocelan
Thank you for wonderful cut file. The event sounds wonderful! It is always a great time to get together with like-minded ladies and learn and share and just have a great time in the Lord. Thank you for sharing you time and talent. hugs,Patty http://rosetresuresblog.blogspot.com
ReplyDeleteSuch a cute file. Thank you so much for a terrific cut file!
ReplyDeletehow beautiful - must try to remember to do this for my office
ReplyDeleteWhew! Another job well done and so worth it in the end. Looks and sounds a grand time.
ReplyDeleteGood afternoon Barb:)
ReplyDeleteWhat an awesome time you must have had with Judy..preparing for this event. I can see it was a total success.:)
I LOVE the tea light tree you made and THANK YOU so much for sharing the cutting file and tut with me.
Love and hugs,
Valinda